
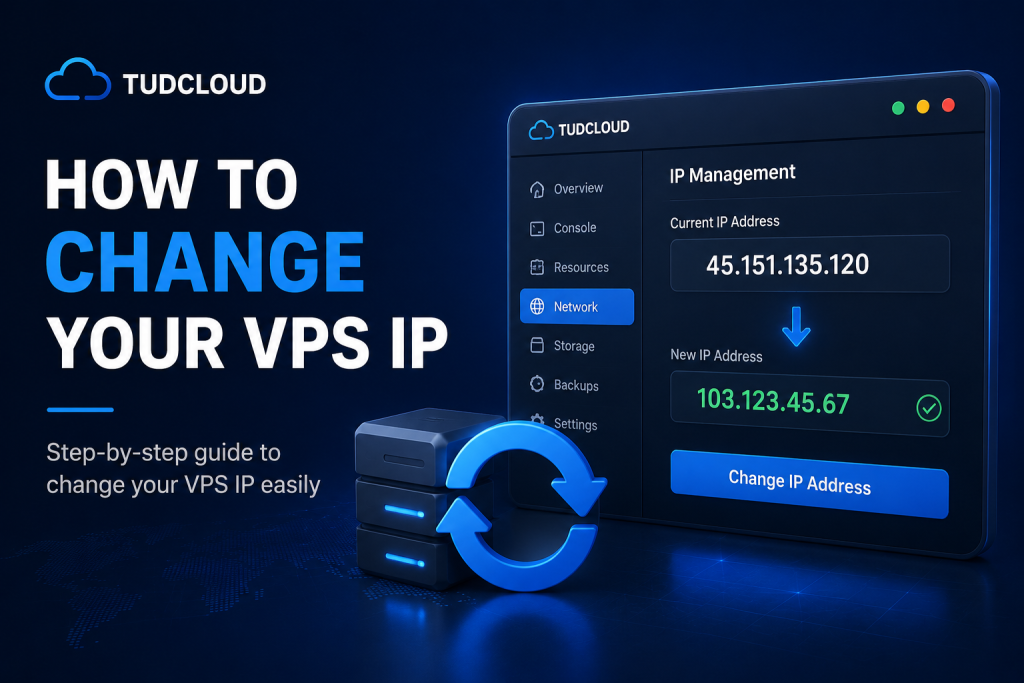
This guide shows you how to change the IP address of your VPS directly from the Tudcloud VPS control panel.
With the IP replacement feature, you can quickly assign a new IP address to your VPS without reinstalling the operating system or losing your existing data.
In the video above, we walk through the entire process step-by-step, including:
- Accessing your VPS control panel
- Opening the IP replacement option
- Confirming the IP change
- Waiting for the new IP to be applied
After the IP replacement is completed, your VPS will begin using the new IP address. Your existing system, files, and data will remain unchanged.
Please note that the old IP address will no longer be available after the replacement. If you have any services, DNS records, firewall rules, or applications configured with the old IP address, remember to update them accordingly.
If you experience any issues while changing your VPS IP, our support team is always available to assist you.