
Server Security
Set Up SSH Key Login on Your VPS Without Locking Yourself Out
SSH keys make everyday VPS access easier without asking you to memorize another server password. The important part is the order: create the key on your computer, copy only its public half, then test a new connection. Keep your existing session open. Your spare entrance deserves a little respect.
Scope: an existing Linux VPS account that you can already access. Local commands below assume a Linux or macOS shell with OpenSSH and ssh-copy-id available. Windows users can use WSL for this workflow. The fictional example port 51873 is not a recommendation or a customer port: replace it with your VPS’s actual SSH port, commonly 22. Replace your_user and YOUR_SERVER_IP too.
1. Create a key on your own computer
Run this locally, not inside the VPS:
ssh-keygen -t ed25519 -f ~/.ssh/tudcloud_vps -C "vps-access"Choose a strong passphrase when prompted. If the filename already exists, stop and choose a different name instead of overwriting a key you may need elsewhere. This creates a private file and a matching .pub file. Only the public file belongs on the server. See the OpenSSH key-generation reference.
No USB device is required for this software-key tutorial; the cover represents secure access in general. Hardware-backed keys are a separate setup.
2. Install the public key
Still on your computer, use your existing VPS login:
ssh-copy-id -i ~/.ssh/tudcloud_vps.pub -p 51873 your_user@YOUR_SERVER_IPConfirm the server fingerprint through a trusted source before accepting a first connection. The command may ask for the remote account password. If password login is already disabled and you have no other working authentication method, use the provider console or an existing administrator session instead; repeatedly guessing passwords will not install a key. Ubuntu documents the public-key workflow in its OpenSSH guide.
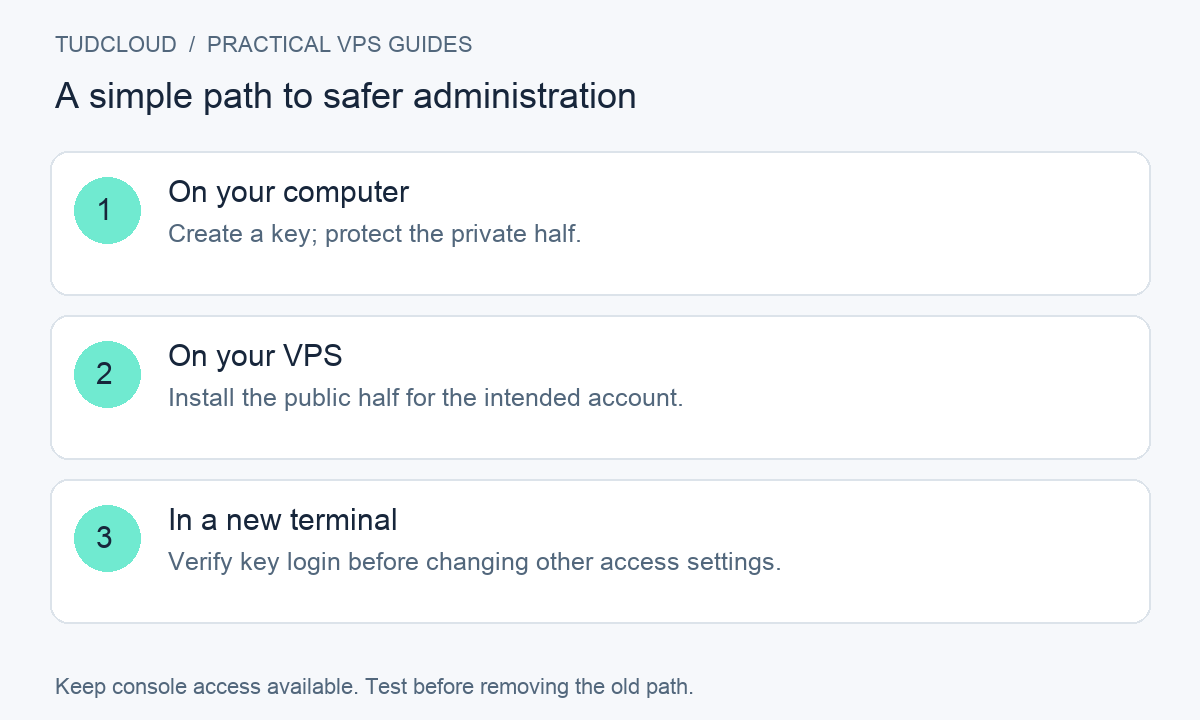
3. Prove the key works in a new terminal
Open another terminal on your computer and run:
ssh -i ~/.ssh/tudcloud_vps -o IdentitiesOnly=yes -o PreferredAuthentications=publickey -p 51873 your_user@YOUR_SERVER_IPThis test asks the client to use public-key authentication. A prompt for the key passphrase is normal; it unlocks your local private key. It is different from the VPS account password. Once logged in, run whoami. If this account is meant to administer the VPS, also verify its normal sudo access.
4. If the login fails, check the right account
From your existing session, sign in as the target user and inspect:
ls -ld ~ ~/.ssh ~/.ssh/authorized_keysThe public key must be installed for the username you are connecting as. For a normal user-owned SSH directory, the usual permissions are:
chmod 700 ~/.sshchmod 600 ~/.ssh/authorized_keysDo not run these in root’s home when the failing login belongs to another user. Incorrect ownership or a group-writable home directory also needs investigation. The server’s authentication log can identify rejected permissions; our SSH error guide helps choose the next check.
5. Finish with a recovery plan
Keep an encrypted backup of the private key and a working provider-console login. Never paste the private key into a ticket or article. This guide deliberately leaves your existing authentication policy in place: disabling passwords is a separate change after all required users and automation have tested their keys. Changing the port at the same time makes troubleshooting harder.
Keep building with TudCloud
Compare Hong Kong VPS and Seattle VPS options for your project. Existing customers can find service details and request help in the client area. Confirm the operating system, panel and recovery-console options for your chosen plan.
Documentation reviewed October 18, 2026. Examples use fictional connection details. Cover artwork is a conceptual illustration, not a customer screenshot or a photograph of TudCloud staff. Commands must be adapted to your server; they have not been tested against every provider image.