
Server Security
Ubuntu UFW Firewall: Allow, Block and Remove Rules Safely
UFW makes a Linux firewall easier to manage. The trick is to give yourself a working entrance before asking it to guard the building. This guide covers ordinary host services on an Ubuntu VPS, not routers or container networking.
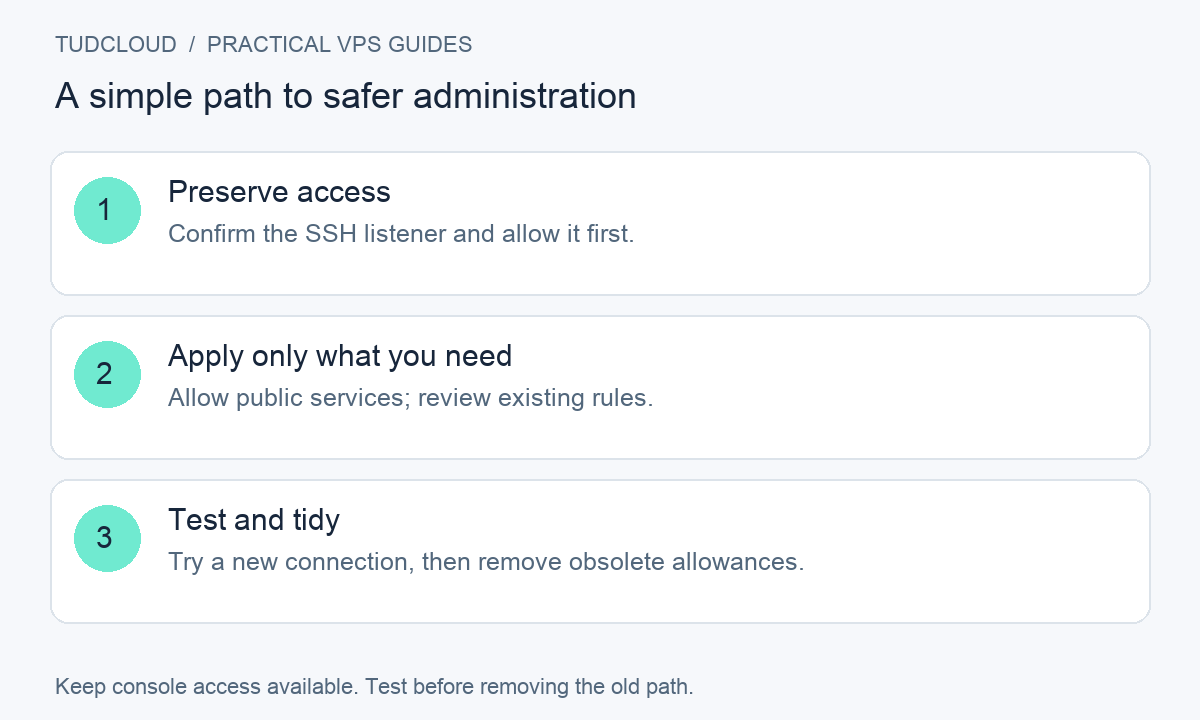
Scope: UFW is already installed and is the firewall manager you intend to use. Do not stack this recipe on top of firewalld or a hosting panel that manages the OS rules. Keep a tested VNC or serial console open. The example SSH port 51873 is fictional; replace it with your actual listening port. Adding a firewall rule does not change the SSH service’s port.
1. Inspect before changing anything
sudo ufw status verbosesudo ufw show addedsudo ss -ltnpRecord the existing rules and your SSH listener. If UFW is active, make targeted changes; do not reset it. If it is inactive, stored rules may still exist, so review them before enabling it. List every service that must remain reachable, including management and monitoring.
2. Allow your real SSH port first
sudo ufw allow 51873/tcpSubstitute your actual SSH port before running this. The rule above allows any source; you can narrow it later after proving access works. If a provider firewall is enabled, it must allow your connection too. On an active firewall with an earlier matching deny rule, inspect rule order before assuming a new allow has fixed it.
3. Open only the public services you use
For a normal public website, allow HTTP and HTTPS:
sudo ufw allow 80/tcpsudo ufw allow 443/tcpThese are standard web ports, not customer connection details. A database used only by an application on the same host normally does not need a public incoming allowance. Before opening another port, confirm a service actually needs to receive outside traffic there. Basic UFW commands are documented in the Ubuntu firewall guide.
4. Enable a fresh policy only when ready
For a new, currently inactive UFW setup, after allowing SSH and every required service:
sudo ufw default deny incomingsudo ufw default allow outgoingsudo ufw enableRead the confirmation. Enabling a firewall can interrupt remote access, so do this from the tested console. Open a fresh SSH connection from your computer immediately afterward and test the website. For an existing active policy, skip these default-policy commands unless you deliberately intend to redesign it.
5. Remove a rule without playing number roulette
sudo ufw status numberedFind the unwanted entry. For example, if you previously added an unused test allowance on fictional TCP 57419, remove that exact rule:
sudo ufw delete allow 57419/tcpDo not run the example against your current SSH allowance. If you delete by number instead, list rules again after each deletion because the numbers change. A numbered deletion affects the selected entry only; review IPv4 and IPv6 entries. The UFW manual explains rule order, deletion and IPv6 handling.
6. Keep a small recovery checklist
If a change blocks access, use the console to undo the specific change and restore the required allowance. Avoid ufw reset as a first response: it discards the policy. Test both address families you actually use and inspect /etc/default/ufw before assuming IPv6 is protected.
Docker-published ports need a separate review: Docker documents that its forwarding rules can bypass the UFW path users expect. Do not rely on this host-only checklist to secure containers. See Docker’s firewall guidance.
Keep building with TudCloud
Compare Hong Kong VPS and Seattle VPS options for your project. Existing customers can find service details and request help in the client area. Confirm the operating system, panel and recovery-console options for your chosen plan.
Documentation reviewed October 18, 2026. Examples use fictional connection details. Cover artwork is a conceptual illustration, not a customer screenshot or a photograph of TudCloud staff. Commands must be adapted to your server; they have not been tested against every provider image.