
Server Security
VPS Panel Firewall vs Linux Firewall: Open the Right Door Twice

You allowed a port in Linux, but the application is still unreachable. A VPS can have more than one gate: the hosting panel may filter traffic before it reaches the guest operating system. Both gates need the right policy, and the application still needs to be listening at the end.
This guide explains the general workflow and includes a Virtualizor example. Panel availability and behavior depend on the service. Use the actual panel linked from your service details; some TudCloud services use a different platform.
1. Identify the layers before editing rules
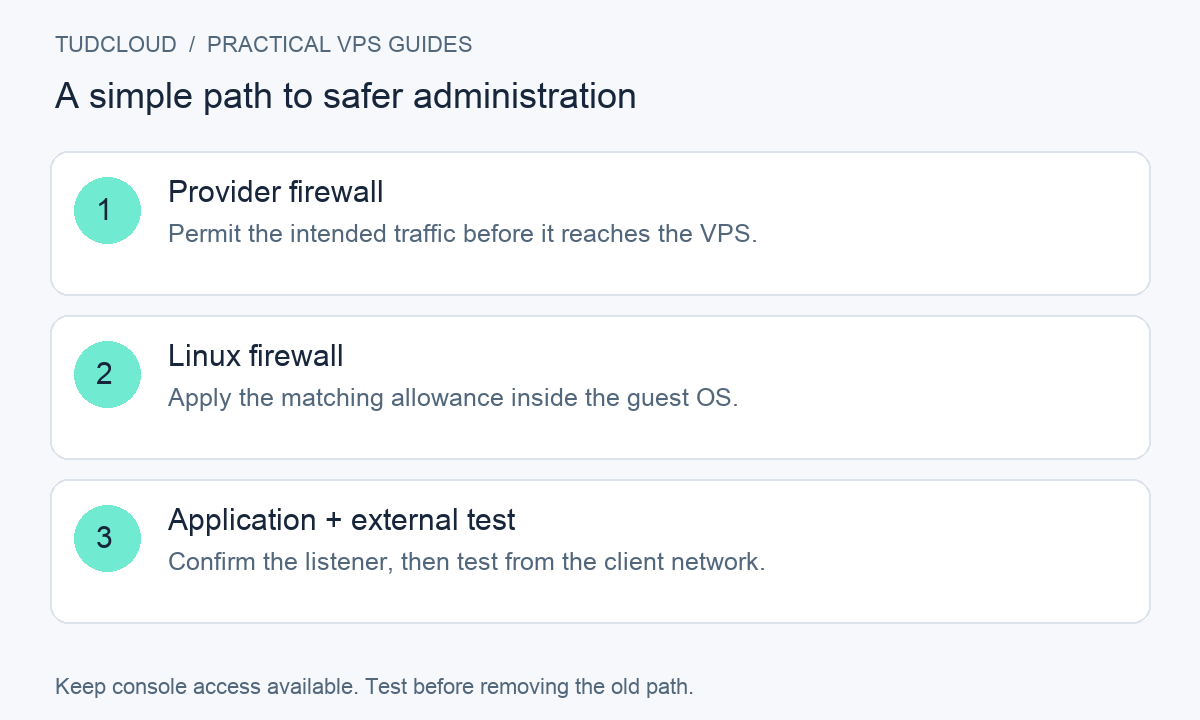
- Provider or panel firewall: controls traffic at a layer outside the guest OS.
- Linux firewall: UFW, firewalld or another manager inside the VPS.
- Application listener: the service must accept traffic on the intended address and port.
Write down which layer you changed. “I opened the port” is much more useful when followed by “in the panel, for inbound TCP.” Changing one layer at a time also gives you a clear rollback.
2. Read the rule fields correctly
For a normal client connecting to a service on your VPS:
- Direction: inbound, often called IN.
- Protocol: select the one the service actually uses.
- Destination port: the port on the VPS where the service listens.
- Source: the permitted client address or network.
- Source port: normally leave unrestricted for ordinary client connections; it is not usually the server’s SSH port.
Keep administrative access restricted to known management addresses where practical. Public website access and private database access should not automatically receive the same rule. If your home IP changes often, plan an alternative management path before relying on a single-IP rule.
3. Build the plan before you attach it
Open and test the provider console. Save the current rule set or plan selection, and confirm how to switch back. Add all required management and service allowances before applying a default-deny plan. Preserve essential network control traffic and required outgoing connectivity according to the platform’s documented behavior; do not copy a tiny web-only allowlist onto a mail server or VPN gateway.
For Virtualizor specifically, the current end-user documentation describes ACCEPT rules with a default DROP policy, identifies IPv4 support, and shows the attachment path as List VPS → Manage VPS → Networking → Change Firewall Plan. Check your deployed version and provider configuration before applying it. Do not assume that an IPv4 plan protects IPv6. Official Virtualizor VPS Firewall guide.
4. Match the Linux-side allowance
Inside the VPS, inspect the manager already in use. For UFW:
sudo ufw status verboseFor firewalld:
sudo firewall-cmd --get-active-zonesRun the relevant check, not a recipe that enables both tools. Our UFW guide and firewalld guide cover the corresponding changes. Inspect TCP listeners separately:
sudo ss -ltnpA public firewall allowance cannot make a loopback-only listener public. Likewise, a running service does not prove that a provider filter permits it.
5. Test from outside, then close the old path
Use a new connection from your own computer. Check the actual website or login rather than relying only on ping. Test each address family you publish, and test from the allowed source network. A timeout can reflect filtering; a refusal can reflect no listener or an explicit rejection. These are clues, not definitive diagnoses.
If access fails immediately after attaching a plan, restore the previous plan through the provider panel and inspect the missing allowance. If the guest firewall caused it, use the console to undo that specific change. Avoid removing every protection at once: that hides the cause and creates a larger exposure.
A short change record saves a long evening
Record the service, protocol, destination port, allowed source, layer changed and successful test. Keep real customer addresses and ports inside private service records. Screenshots for public tutorials should show only fictional examples or neutral illustrations, never live connection details.
Keep building with TudCloud
Compare Hong Kong VPS and Seattle VPS options for your project. Existing customers can find service details and request help in the client area. Confirm the operating system, panel and recovery-console options for your chosen plan.
Documentation reviewed October 18, 2026. Examples use fictional connection details. Cover artwork is a conceptual illustration, not a customer screenshot or a photograph of TudCloud staff. Commands must be adapted to your server; they have not been tested against every provider image.