
Virtualizor Guides
How to Reinstall a VPS OS in Virtualizor Safely
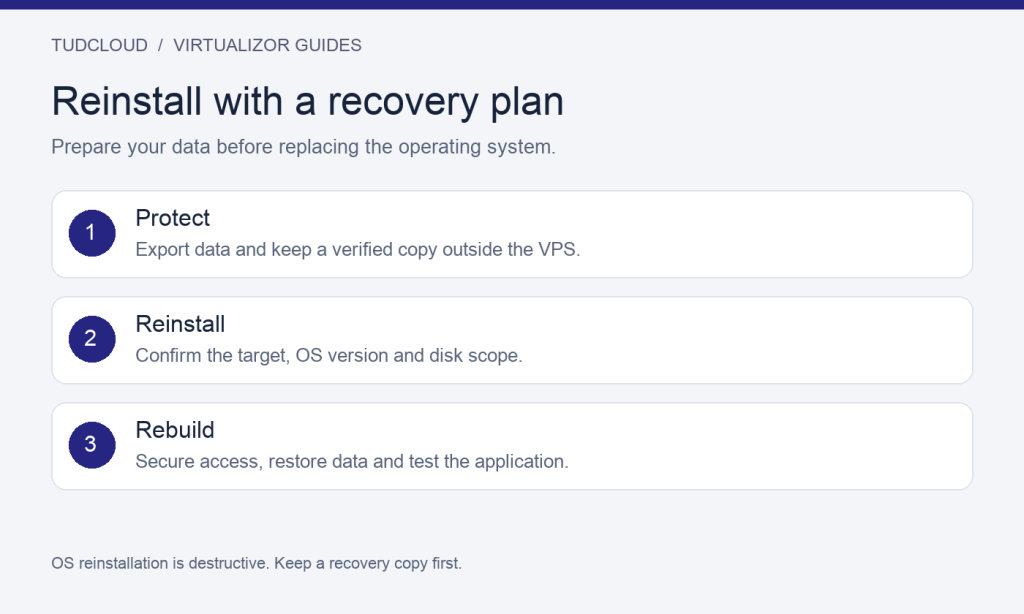
Applies to: VPS services managed through Virtualizor. Open the panel link supplied with your service; some services use a different platform. Labels and available features vary by provider, virtualization type and panel version.
Reinstalling a VPS is useful when you need a clean operating system or want to rebuild a test environment. It is not a routine fix for every connection issue. If the server contains a live website, treat the operation as a planned rebuild with downtime and a tested recovery path.
1. Decide whether a reinstall is necessary
Start by identifying the problem. A wrong SSH port, a stopped web service or a full disk may be repairable without replacing the OS. Use the Virtualizor console guide to inspect a server that cannot be reached through SSH. Reinstall when you deliberately want a clean system, not because a login attempt failed.
2. Back up the application outside the VPS
Record the server ID, assigned IPs, current OS, application versions and important service settings. Copy website files and configuration, export databases with an appropriate database tool, and securely preserve secrets needed to restart the application. A directory of files alone may not contain the database behind your website.
Keep at least one recovery copy outside the server being rebuilt. Check that archives can be opened and that database exports are readable; ideally test a restore in a separate environment. If your provider supplies backups, confirm retention and whether they remain available after a reinstall. Do not assume that a backup button guarantees a usable recovery point.
3. Choose the operating system in Virtualizor
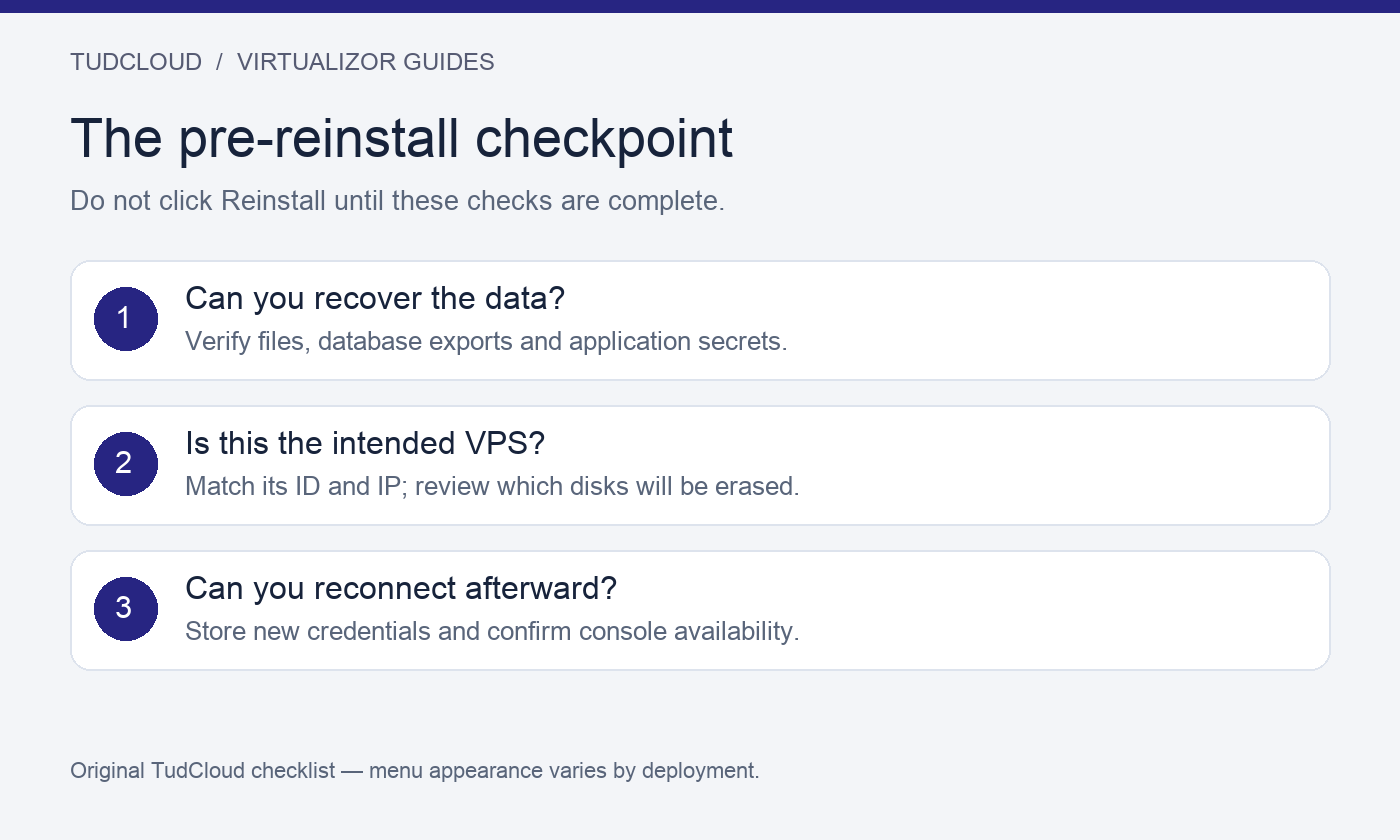
- Open the management page for the intended VPS and verify its ID and IP.
- Select OS Re-Install.
- Choose a distribution and version from the templates actually offered.
- Enter the new root password requested by the form and store it securely.
- Read the disk and data-loss confirmation, then select Reinstall once.
- Wait for the operation to finish before attempting other power or installation actions.
Virtualizor documents this sequence and warns that reinstalling creates a fresh system without the existing data. If your form offers Format Primary Disk Only, the documentation describes that option as affecting the first assigned disk while leaving secondary disks untouched. Verify the selected disk scope with your provider when uncertain; keep backups of all important disks regardless. Official OS reinstall instructions.
4. Verify access and secure the fresh system
Check the completion status and use the console if remote access is not yet available. Connect with the credentials and port appropriate to the newly installed template. A fresh system may not retain your old custom SSH port, users or firewall configuration.
Reinstallation can change SSH host keys. Verify the new fingerprint through a trusted console or your provider before updating the corresponding entry in your local known-hosts file. Do not bypass verification just to suppress a warning.
Apply OS updates, configure your administrative account and SSH keys, and allow the required management connection before enabling restrictive firewall rules. Our Ubuntu security baseline provides a starting checklist. Restore the application only after access and basic security are working.
5. Test before reopening traffic
Check database connectivity, uploaded files, scheduled jobs and HTTPS. If you paused writes during maintenance, resume them only after checking the restored data. A successful installation status confirms the rebuild task; it does not confirm that your website has been restored.
Choose a VPS for your next project
Compare TudCloud Hong Kong VPS and Seattle VPS options. Before ordering, confirm the control panel, operating system choices and backup options for the specific plan. Existing customers can use the TudCloud client area for service details and support.